A decent intercooler fan setup on your Cruiser is essential. Much as the 70 series rolls off the factory line ready to rock and roll, keeping the charge air temperatures in check will massively enhance engine efficiency.
And the good news is that upgrading is something that’s well within the scope of anyone who’s handy with a few tools – as Trav demonstrates in this full-install video.
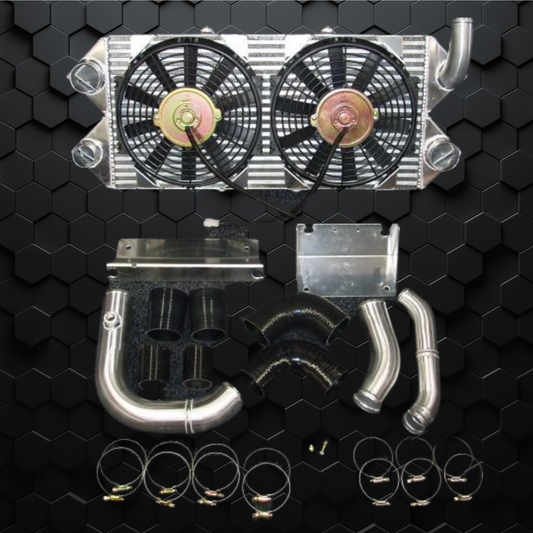
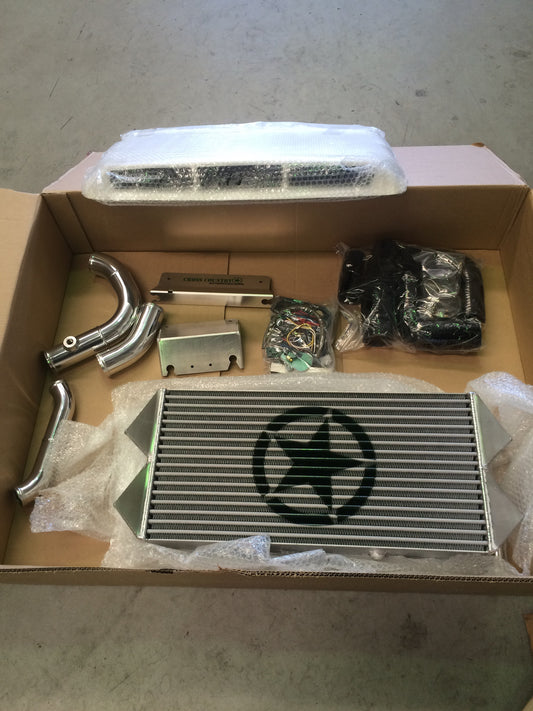
The PDP DIY Intercooler Kit Contains Everything You Need
As with all of our kits, when you buy from us everything you need is there. That includes detailed instructions, which are there to be read before you commence the job. In short, the installation process is a 5-step process, all of which are demonstrated:
1. Prep: Remove the factory trim from the top of the intercooler – a simple removal of four bolts.
2. Mount the controller: Using the included bracket. Trav shows you exactly where to site it to ensure the digital controller is in the right place – at the bottom and away from the bend in the bracket.
3. Fitting the fan: After assembling and mounting the fan shroud, the fans are placed onto the intercooler and secured.
4. Wire her up: This connects the intercooler loom, power harness and ignition pickup.
5. Programme and test: Trav recommends a setting of 40 degrees Celsius and monitoring it with a ScanGauge (2 or 3). Last, but not least, check the airflow direction. Finish up by checking all the connections are secure.
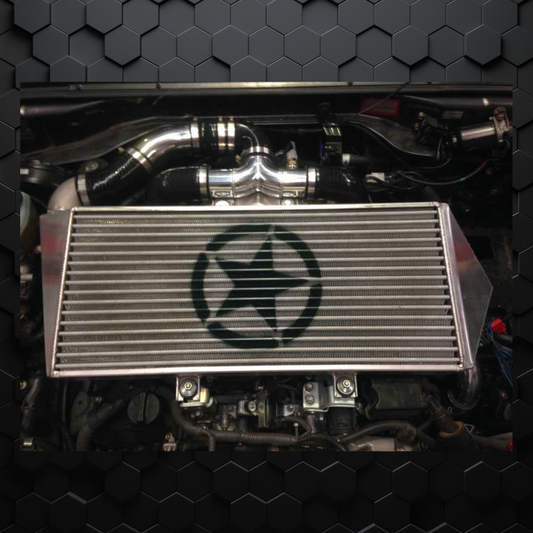
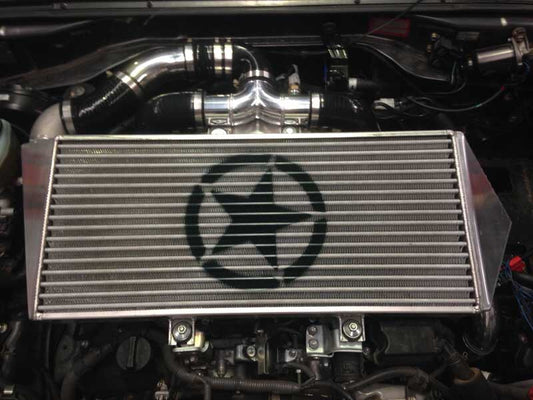
And boom! Your 70 Series is now ready to maintain optimal temperatures – something that translates to enhanced engine efficiency and improved performance. This, and the wide range of other PDP performance parts, are all tailor-designed to do.
As well as offering the ultimate 4X4 upgrades, our blog and video tutorials help make choosing and fitting the parts as easy as possible – plus, we’re always available for you to contact for further advice.