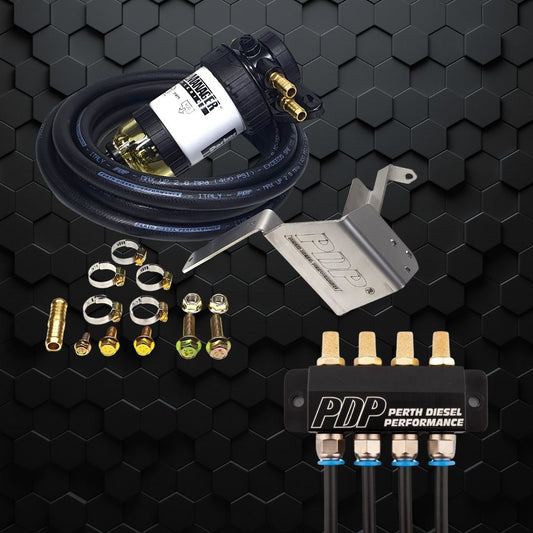
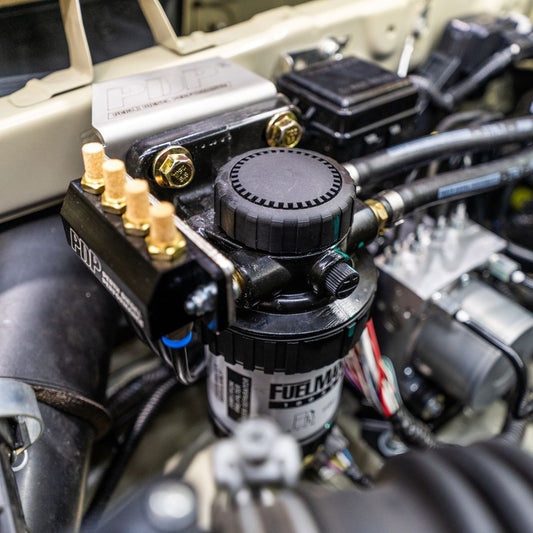
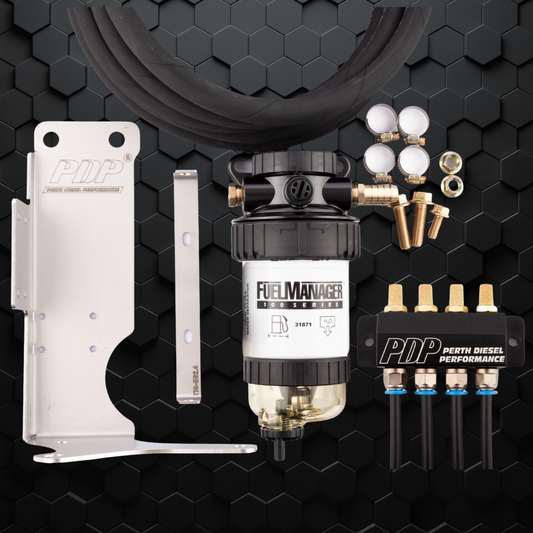
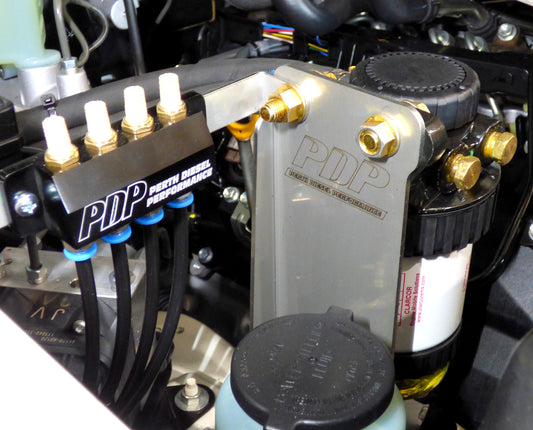
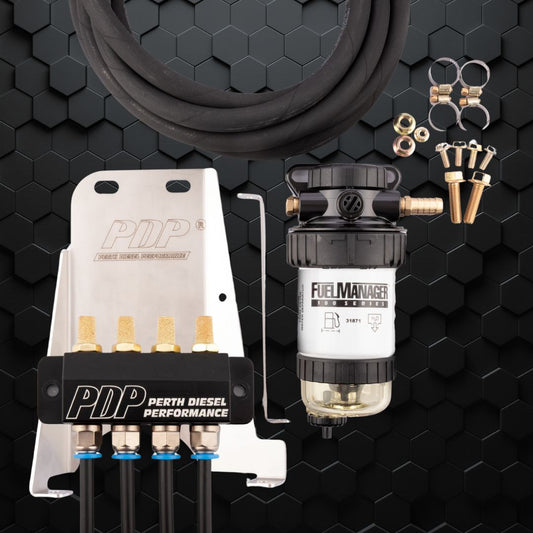
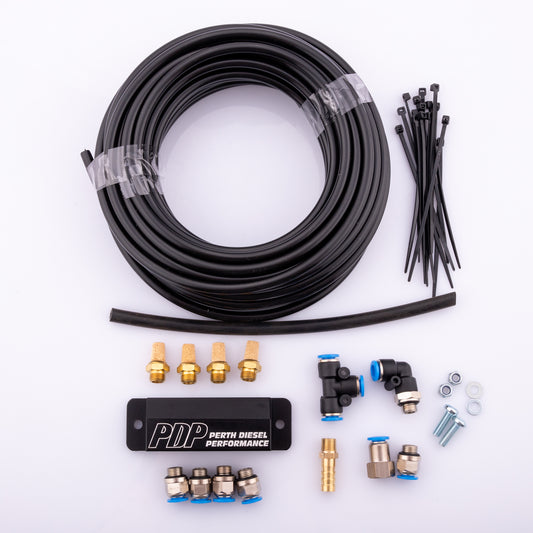
One of the best performance upgrades for a 200 series is to install a diff breather. This video walks through the complete process, from what’s included in the kit to each step needed to install it.
Trav also discusses the often-perceived difficulties of such an installation. While this video is a relatively complex (but still perfectly achievable) one that requires the removal of the intercooler and driveshaft, many vehicles don’t require so much work.
Some aspects that will affect the amount of time it takes to install a diff breather include:
- The type of vehicle and access to the components.
- The kit itself – some are more difficult than others. PDP diff breather kits are designed to be user-friendly for anyone handy with a few tools.
- Your own experience. If this is your first attempt at vehicle DIY, it will understandably take a bit longer than for someone well-versed in such mechanics.
Trav discusses the typical steps of installing a diff breather kit, all of which are fairly standard and straightforward.
- Locate the existing breather points.
- Remove the old breathers.
- Install the new fittings/hoses.
- Route the new hoses to a higher position.
- Then secure the hoses in place.
He also runs through a complete step-by-step installation guide on a Toyota Land Cruiser 200 series. This particular one includes a modification to protect the rear lock actuator motor from water damage.
Other important points are highlighted, such as taking care to secure the hoses with zip ties and how to avoid causing damage to sensors and wiring. Trav also discusses the benefits of raising the breathers, important for improving off-road capabilities and longevity.
Check out the wide range of PDP performance parts for the 200 series and more handy advice, videos and top tips from Trav.

